Edit Holiday
About Holidays
When holidays are displayed in the views, or when schedules are assigned to Holiday, the holidays configured here in Edit Holiday are used.
If Automatically Retrieve Holidays from the Internet is enabled, holiday data is already populated without any manual input.
If automatic retrieval is not available, or if you want to assign your own custom holidays, you can add them here.
In addition to adding holidays, you can also edit or delete them.
Caution
Operations on holidays cannot be undone.
If you delete a holiday by mistake, you will need to add it again manually.
Edit Holiday
Select Edit Holiday from the list on the left side of the Settings window.
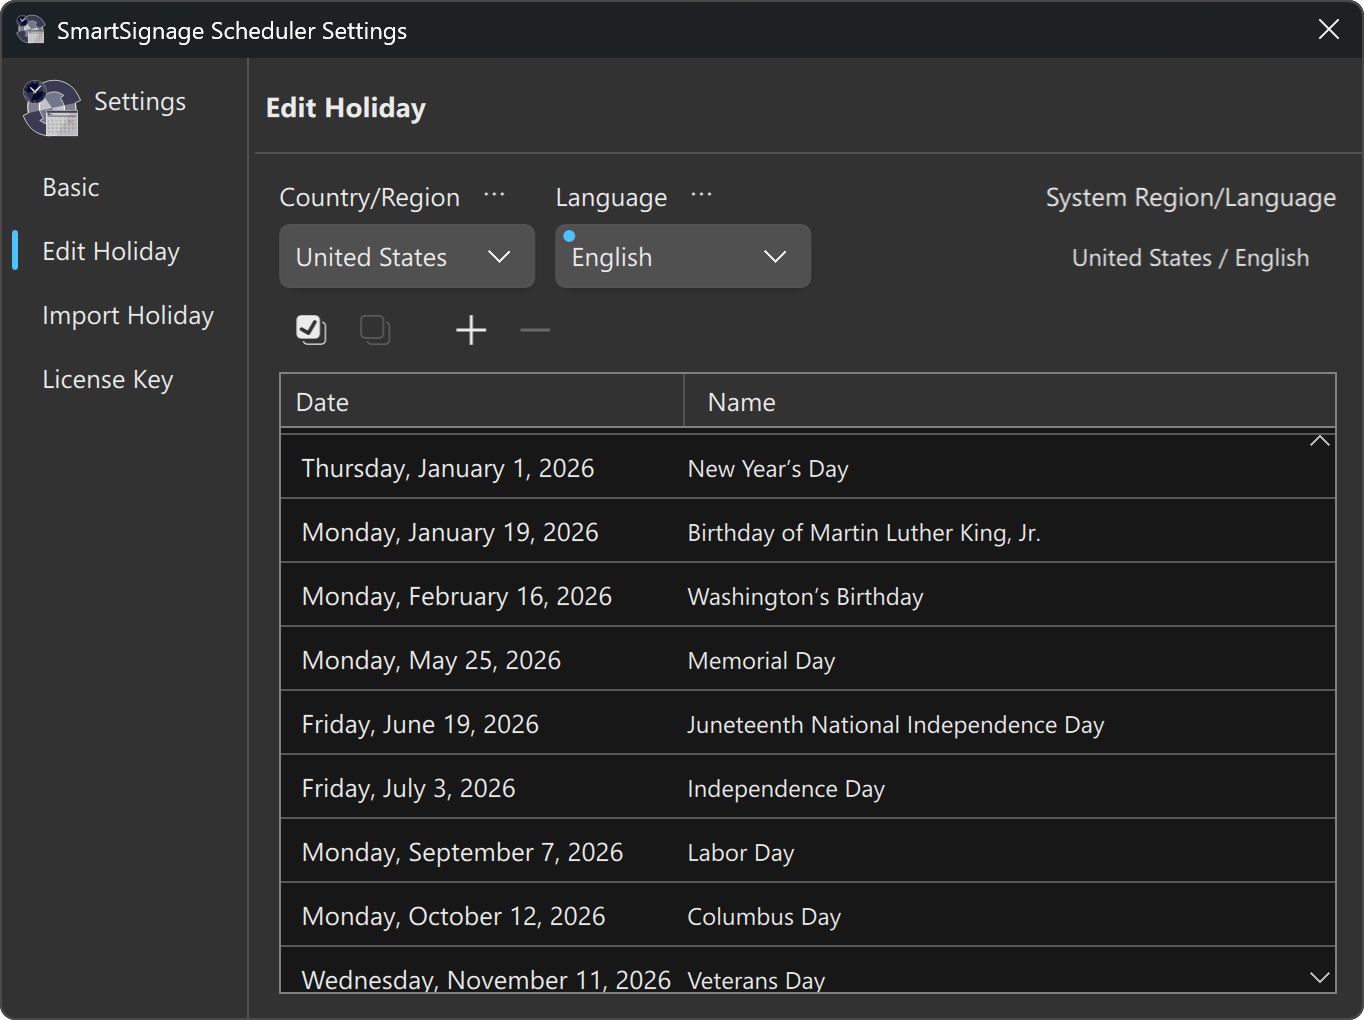
Country / Region
The country or region configured in the operating system is automatically created.
Holidays are managed within each Country/Region and Language.
Adding a Country/Region
Click the icon to the right of Country/Region to open a menu, then select [Add Country/Region…].
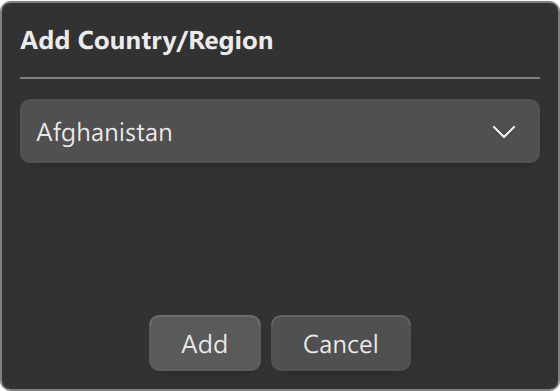
A dialog box like Figure 2 appears.
Click the icon to open the list and select a country/region.
(The list is sorted alphabetically, so Afghanistan appears first when the list is opened.)
Click the Add button to register the selected country/region.
Jumping with Keyboard Input
While the list is open, pressing the key corresponding to the first letter of a country/region will jump the selection to entries starting with that letter.
For example, Japan is listed as Japan, so pressing J scrolls the list and selects Jamaica first, allowing you to quickly reach Japan, which is nearby.
Deleting a Country/Region
Select the country/region you want to delete.
Click the icon to the right of Country/Region to open a menu, then select [Delete Country/Region…].
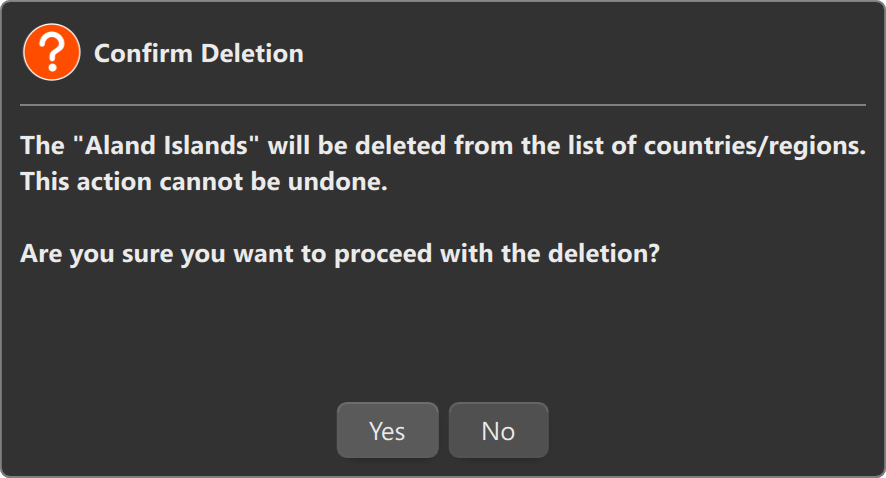
A dialog box like Figure 3 appears.
In this example, the system is attempting to delete Åland Islands.
Click Yes to delete the selected country/region.
Language
Languages are configured for each country/region.
When you add a new country/region, the system language is automatically added.
Adding a Language
Click the icon to the right of Language to open a menu, then select [Add Language…].
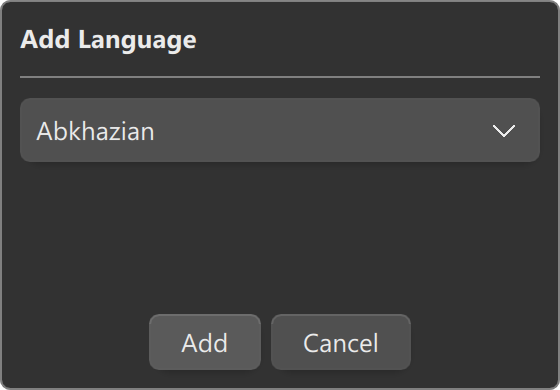
A dialog box like Figure 4 appears.
Click the icon to open the list and select a language.
(The list is sorted alphabetically, so Abkhazian appears first when the list is opened.)
Click the Add button to register the selected language.
Jumping with Keyboard Input
While the list is open, pressing the key corresponding to the first letter of a language will jump the selection to entries starting with that letter.
For example, Japanese is listed as Japanese, so pressing J scrolls the list and selects Japanese.
Deleting a Language
Select the language you want to delete.
Click the icon to the right of Language to open a menu, then select [Delete Language…].
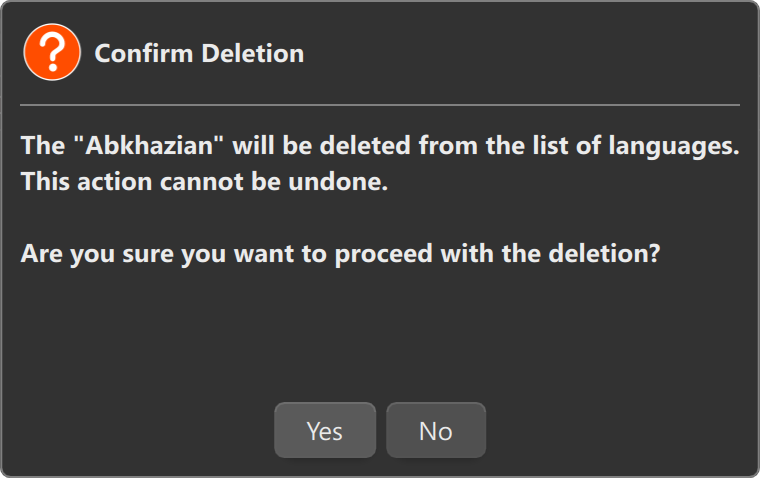
A dialog box like Figure 5 appears.
In this example, the system is attempting to delete Abkhazian.
Click Yes to delete the selected language.
Default Language
Each country/region can have multiple languages.
You can change which language is selected by default when switching between countries/regions.
When a language is set as the default, a indicator appears in the upper-left corner, as shown below.
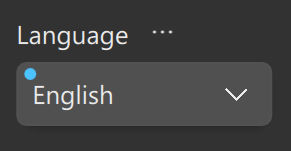
To change the default language, select the language you want to set as default, then click the icon to the right of Language and choose [Set as Default] from the menu.
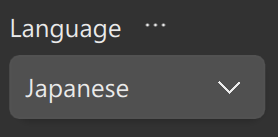
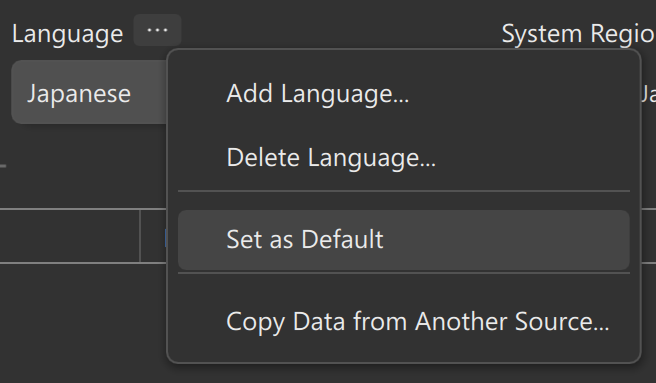
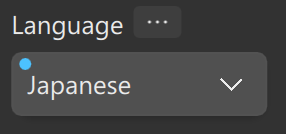
In the example above, English, which was not the default (Figure 7), is selected, then Set as Default is chosen from the menu (Figure 8), and the default is updated (Figure 9).
System Region / Language
The System Region/Language is shown in the upper-right corner of the window.
This reflects the region and language configured in the operating system.
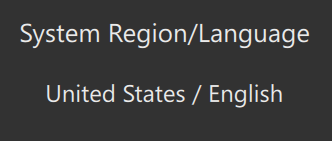
In Figure 10, the display shows United States / English.
This display also functions as a button.
By clicking it, you can switch the Country/Region and Language to match the system settings.
Adding, Deleting, and Renaming Holidays
Holidays are stored for each Country/Region and Language.
Before making changes, select the Country/Region and Language you want to configure.
Important
Holidays can only be added or deleted — the date cannot be changed.
The name of a holiday can be edited.
Adding a Holiday
Click the icon above the holiday list to open the dialog shown below.
Context Menu
You can also right‑click the list and select [Add Holiday] from the context menu.
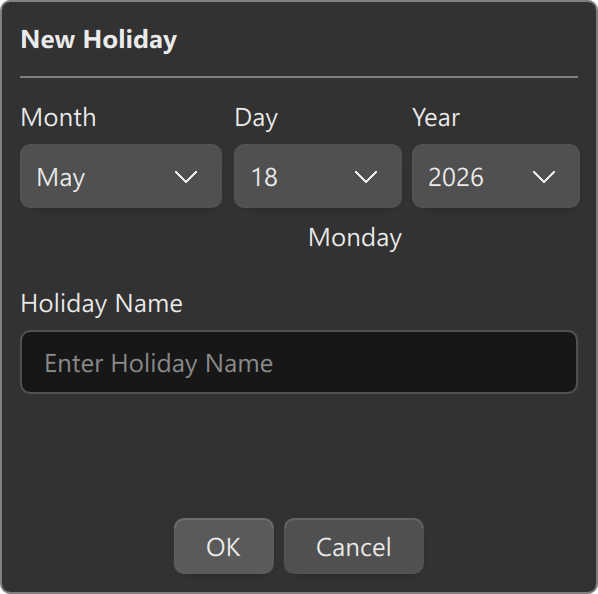
As shown in Figure 11, the current date is pre‑filled automatically.
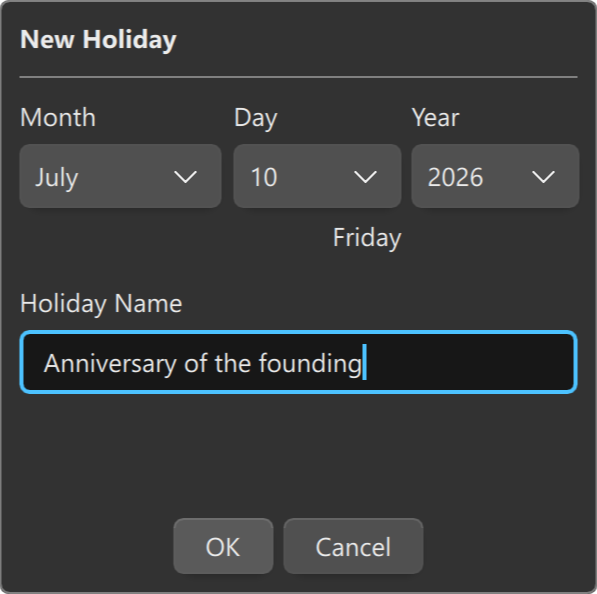
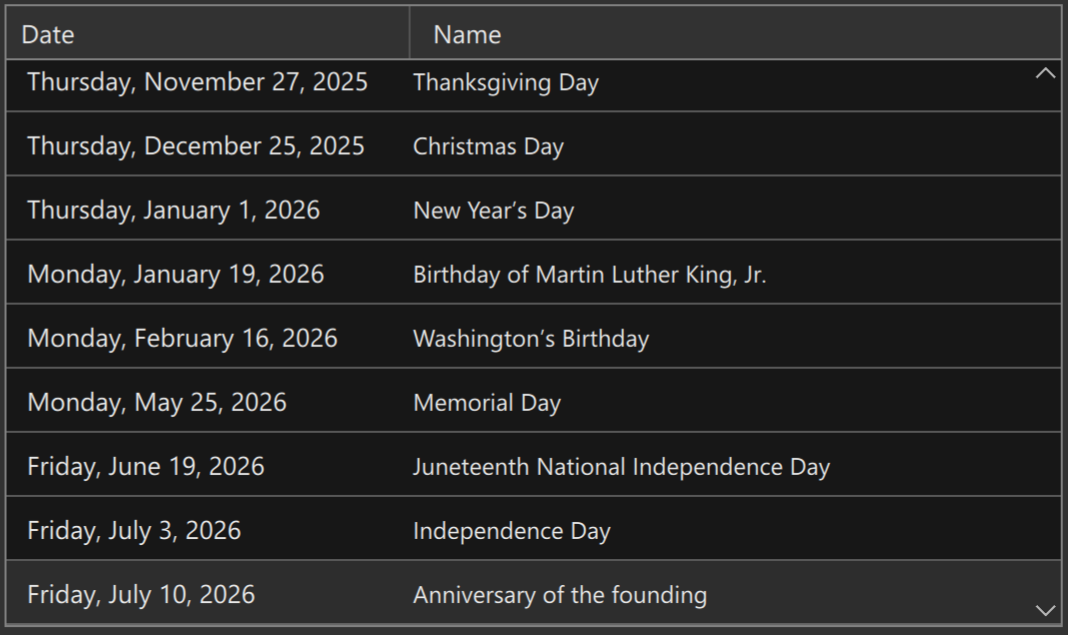
As shown in Figure 12, enter a name and adjust the date if needed.
Click OK to add the holiday to the list, as shown in Figure 13.
(In Figure 13, the new holiday appears at the bottom.)
Renaming a Holiday
You can rename any existing holiday.
First, click the row you want to edit to make it the active item.
When active, a indicator appears on the left side of the row.
Click the holiday name, or press Enter (Windows) or ↩ (macOS), to switch the name into edit mode.
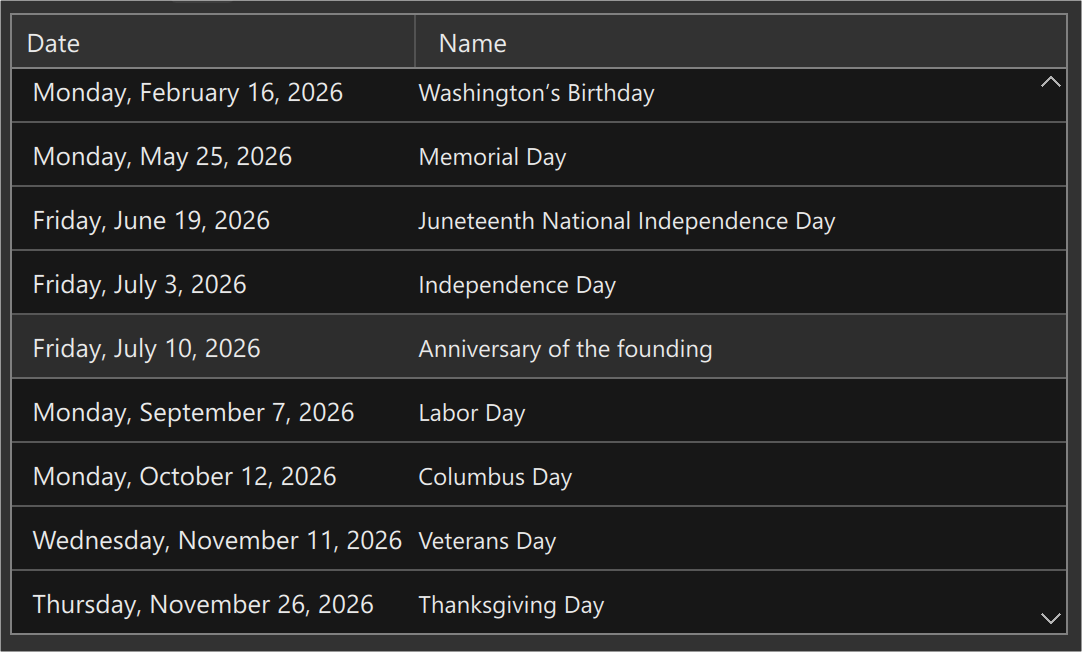
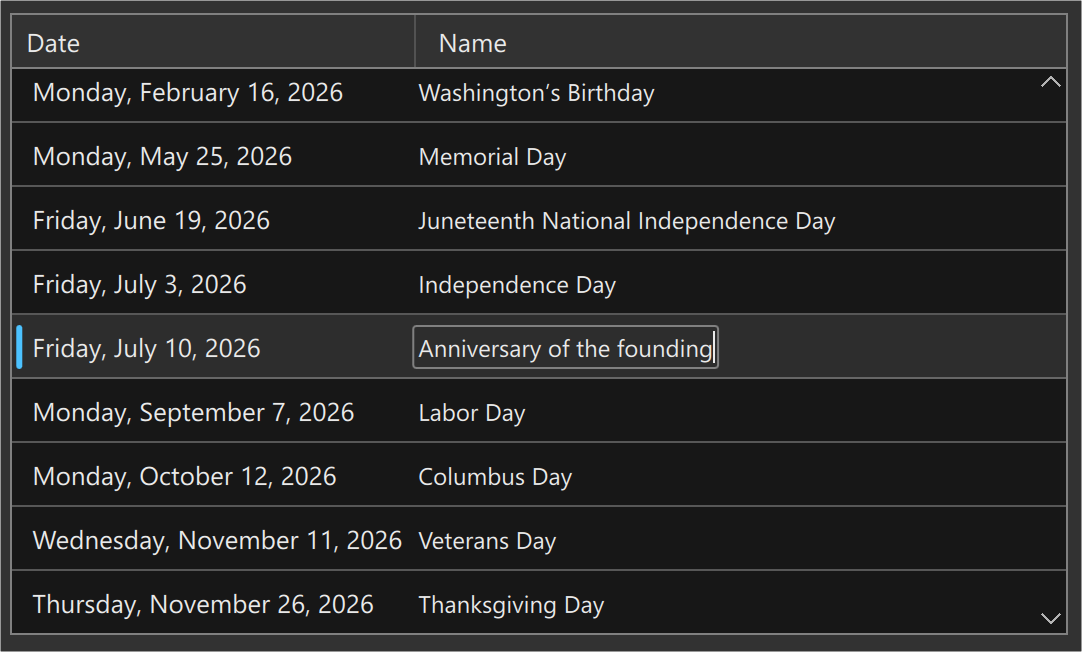
To finish editing, click elsewhere or press the ↑ or ↓ arrow keys.
Deleting a Holiday
Click the row you want to delete.
To select multiple rows, hold Ctrl (Windows) or ⌘ (macOS) while clicking.
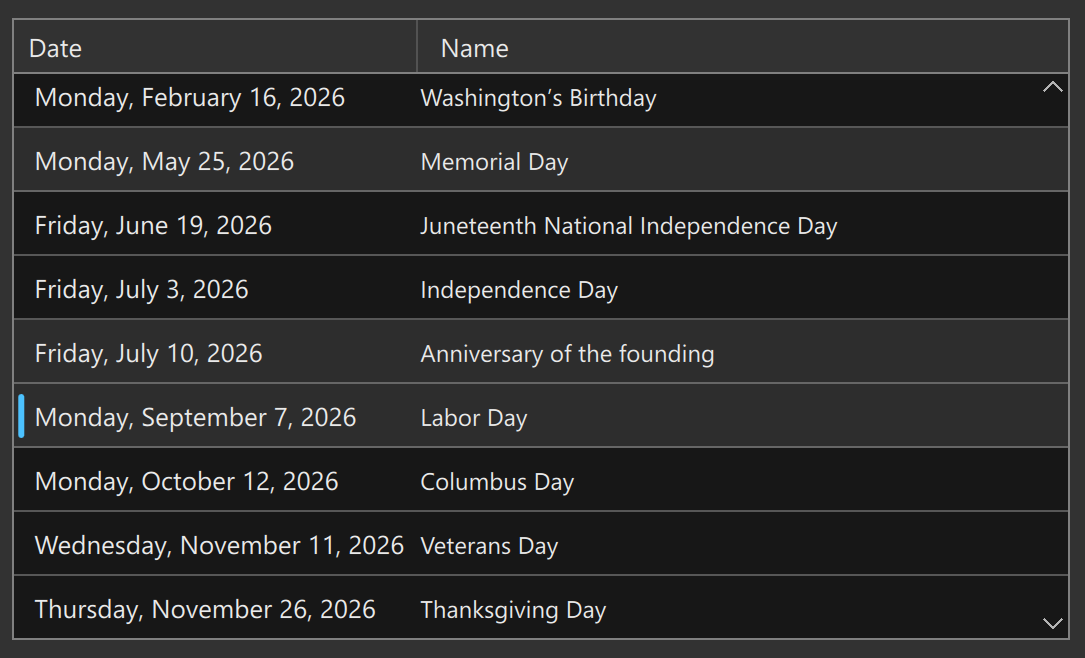
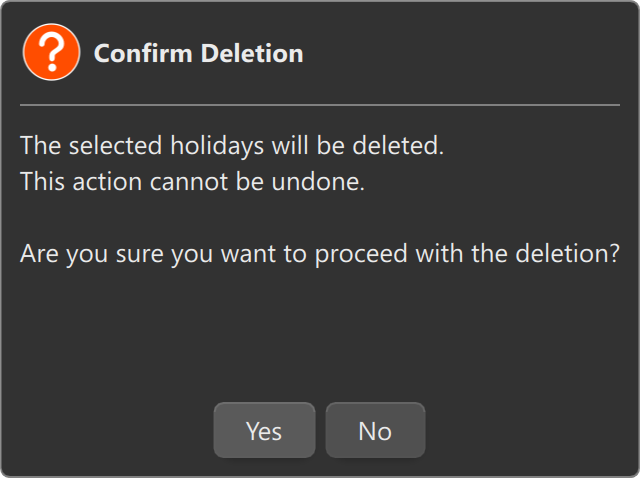
When the confirmation dialog shown in Figure 17 appears, click Yes to delete the selected holidays.
Caution
Deleted holidays cannot be restored.
Other Operations
- Click the icon to select all rows.
- Click the icon to clear the selection.