Add a Schedule
You can add schedules from either the Main View or the Side View.
The operation flow is the same across all four views: Date, Holiday, Day of Week, and Default.
In this section, the Date view is used as an example to explain the procedure.
Selecting a Column
Before adding a schedule, you need to select the target column for the date (or day of the week).
Click anywhere inside the column to place it in the selected state.
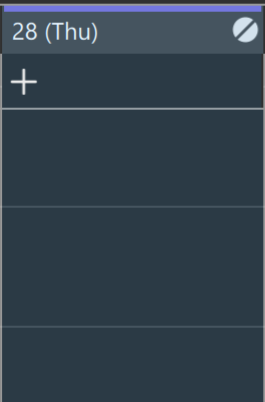
When the Side View is selected, the top of the column is highlighted in , and the overall color changes as shown in Figure 1.
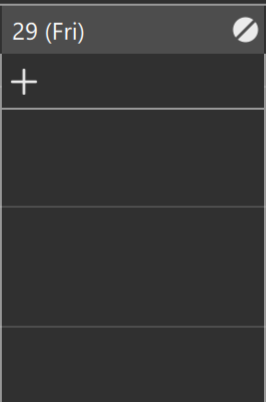
When the Side View is not selected, it appears as shown in Figure 2.
Icons
In Figures 1 and 2, the icon appears in the upper-right corner of the column. This indicates that no schedule is set.
Other possible icons include:
… A Holiday Schedule is applied
… The Default Schedule is applied
… Indicates that the schedule for the corresponding day of the week is applied
… No schedule is set. The displayed content depends on the viewer settings.
Adding a Timed Schedule
To add a Timed Schedule, first select the target column, then choose
[File] » [Add Timed Schedule...] from the menu.
Alternatively, you can right‑click the column and select [Add Timed Schedule...] from the context menu.
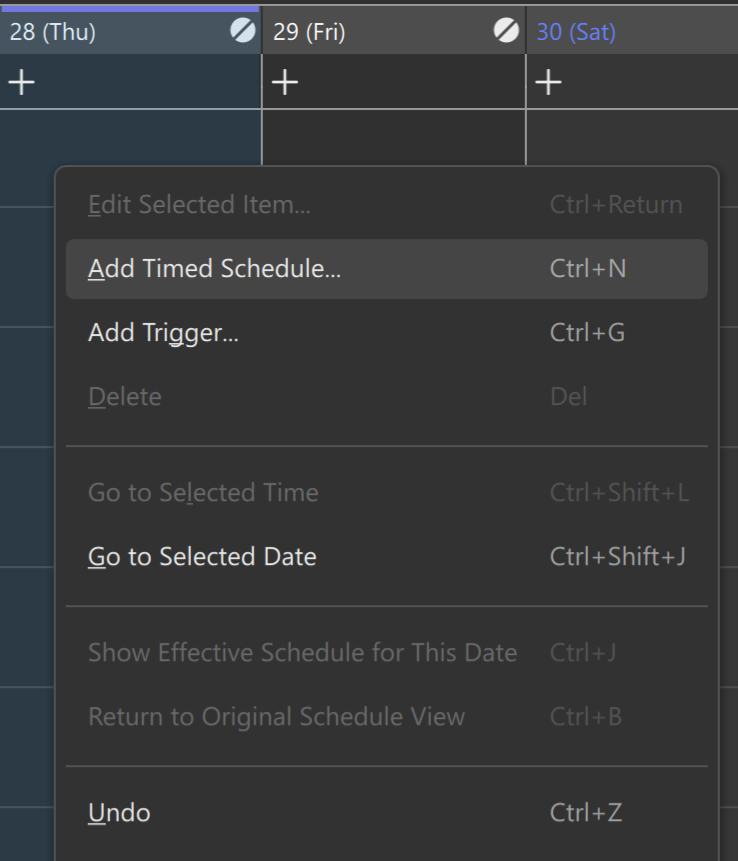
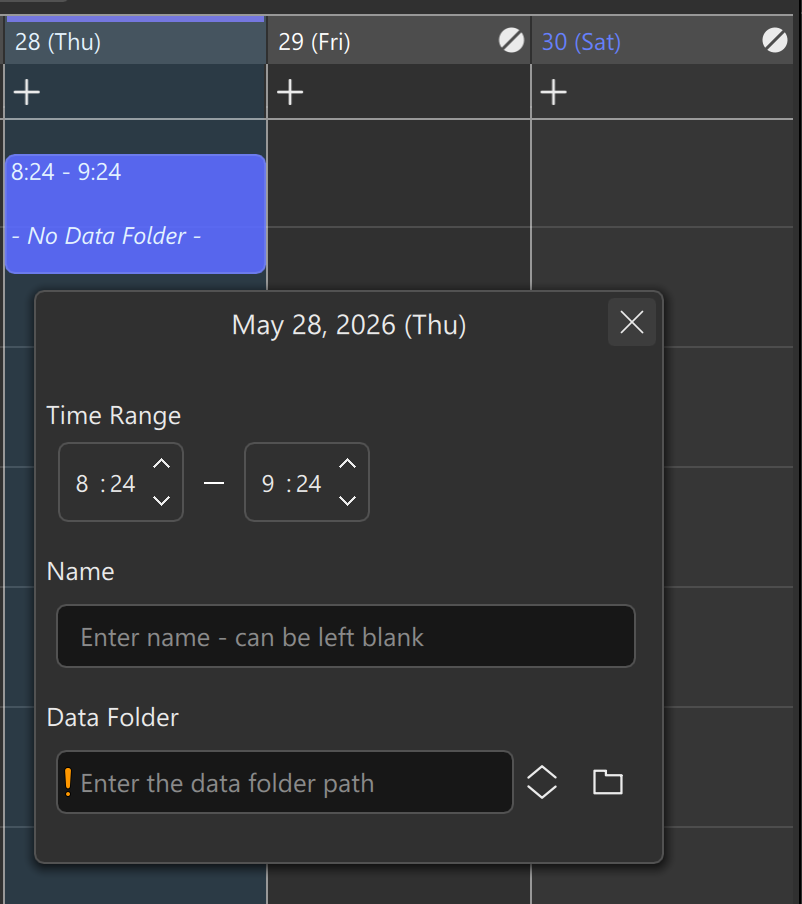
A new Timed Schedule is added, and a dialog box appears where you can configure the time range and other settings. The start time is automatically set to the time corresponding to the position you clicked within the column, and the end time is set to 60 minutes later.
Upper‑Right Icon
After a Timed Schedule is added, the icon in the upper‑right corner of the column (28th in Figure 4) disappears.
This indicates that a schedule is now active for that date.
Timed Schedule Dialog Box
The Timed Schedule dialog box allows you to configure the following items:
Time Range Required
Specify the Start Time and End Time.
The minimum duration is 3 minutes, and the time range cannot cross midnight.
You can click the hour or minute fields to enter values directly, or adjust them using the icons on the right.Name Optional
You may assign a name to this schedule.
The name appears in the column of the Main View and in the Side View.Data Folder Required
Enter or select the path to the data folder.
If the field is empty or the path is invalid, an icon appears at the beginning of the input field.
Clicking opens the OS‑standard folder selection dialog, and the selected folder is inserted into the field.
Clicking displays a list of previously used folder paths, allowing you to choose from them.

Data Folder
Right‑clicking the Data Folder field opens a context menu.
At the bottom of the menu, you will find [Open in Explorer] (Windows) or [Open in Finder] (macOS).
Selecting this option opens the specified folder in Explorer or Finder.
You can also drag and drop a folder from Explorer or Finder directly onto the field to set the path.
Important
Even if the Data Folder field is empty or contains an invalid path, the schedule can still be saved.
However, when such a schedule becomes active, the viewer will display no content.
Finishing the Configuration
Click the icon in the upper‑right corner of the dialog box to close it.
Undo
If you added a schedule by mistake, you can undo the action.
Select [Edit] » [Undo] from the menu.
Setting an All-day Schedule
An All‑day Schedule is applied during any time period where no Timed Schedule is assigned. Only the Data Folder can be configured for an All‑day Schedule.
Configuration
If no All‑day Schedule is set, a icon appears at the top of the column.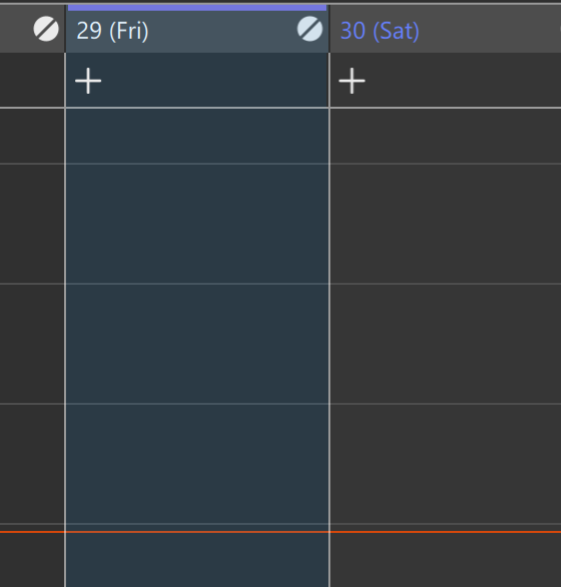
Clicking the icon adds an All‑day Schedule and opens a dialog box where you can specify the data folder.
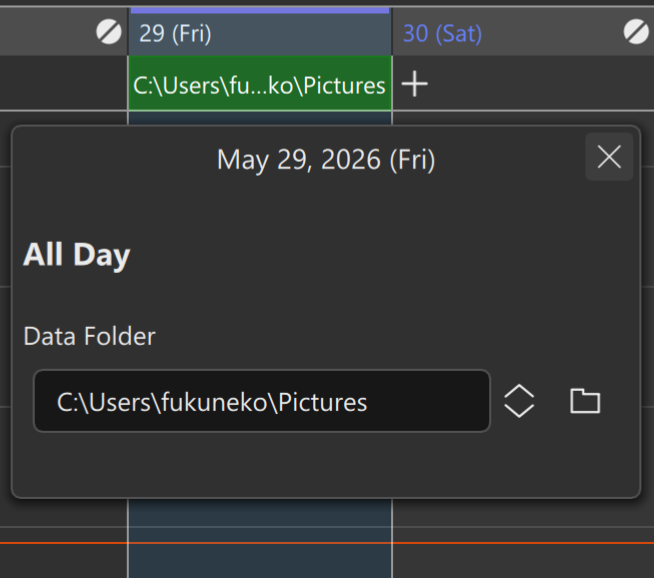
By default, the Pictures folder of the user is set as the Data Folder. You may change this to any folder you prefer.
Finishing the Configuration
Click the button to close the dialog box and finish the configuration. When an All‑day Schedule is set, the top of the column displays the folder path on a background.