Edit a Schedule
You can modify any schedule after it has been created and placed in the time column.
Selecting a Schedule
To edit a schedule, first select the target item in the time column.
In Figure 1, both an All‑day Schedule and a Timed Schedule are present, but they are in the unselected state.
Their background colors appear as and , respectively.
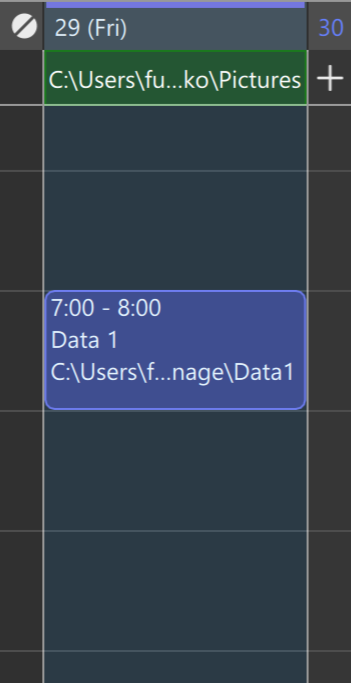
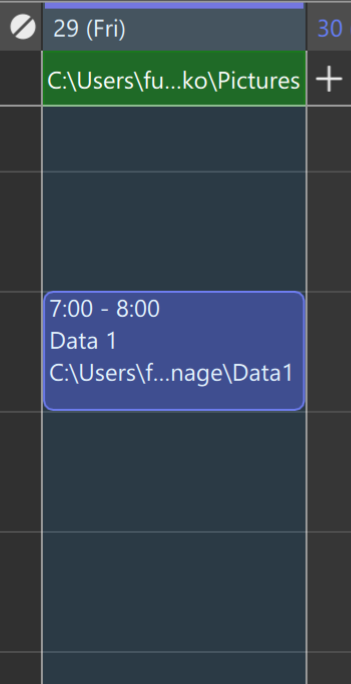
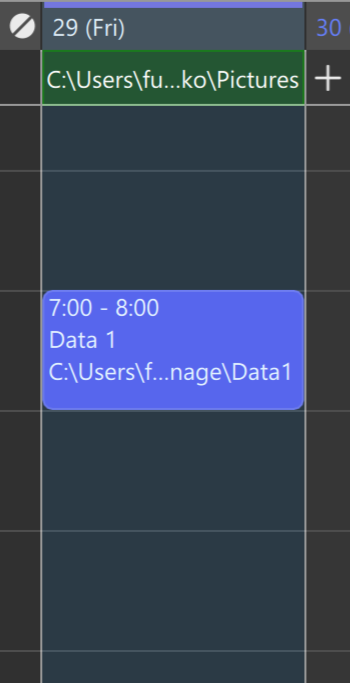
Figure 2 — When you click the All‑day Schedule, its background changes from to , indicating that it is selected.
Figure 3 — When you click the Timed Schedule, its background changes from to , indicating that it is selected.
Editing a Schedule
There are several ways to edit a schedule once it is in the selected state:
- Double‑click the schedule
- [Choose Edit] » [Edit Selected Item] from the menu
- Right‑click the schedule and select [Edit Selected Item] from the context menu
- Press Ctrl + Enter (Windows) or ⌘ + ↵ (macOS)
Any of these actions will open the same dialog box used when the schedule was first created.
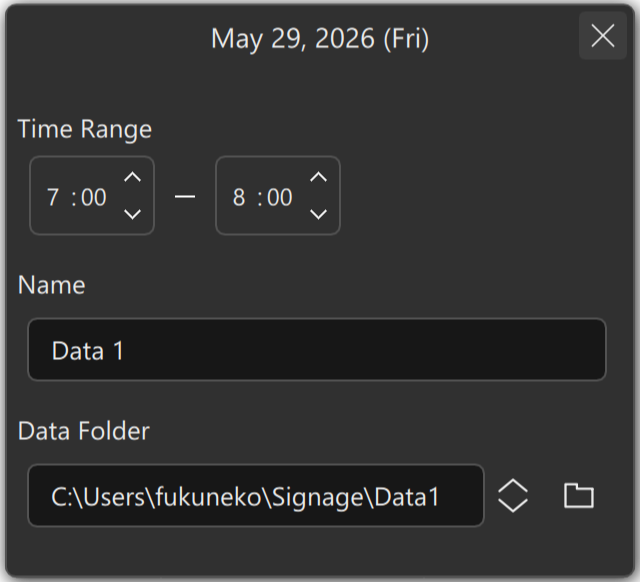
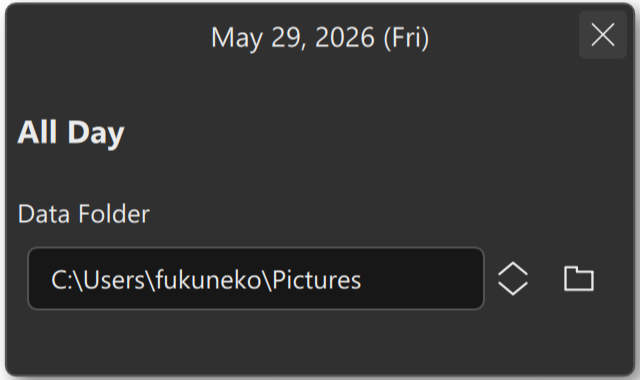
For All-day Schedules, you can modify the Data Folder. For Timed Schedules, you can modify the Time Range, Name, and Data Folder.
After making changes, press the button to close the dialog box.
Modifying a Schedule by Dragging
You can adjust the Time Range of a Timed Schedule by dragging it with the mouse.
Moving a Schedule
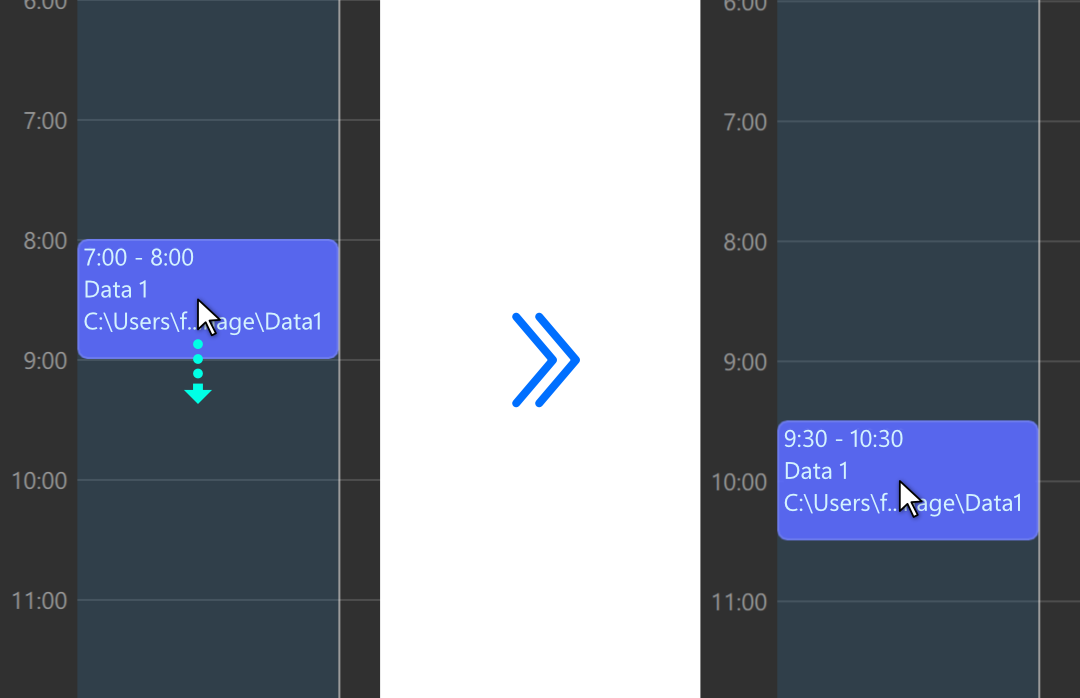
After selecting a timed schedule, drag it up or down by grabbing any area except the top or bottom edge.
This changes the Start Time and End Time while keeping the duration unchanged—in other words, it moves the schedule.
Moving Multiple Schedules
Hold Ctrl (Windows) or ⌘ (macOS) and click to select multiple timed schedules.
Dragging them will move all selected schedules at once.
Adjusting the Time Range
When you hover the mouse pointer over the top or bottom edge of a timed schedule, the cursor changes to . While holding the left mouse button, drag to adjust the time.

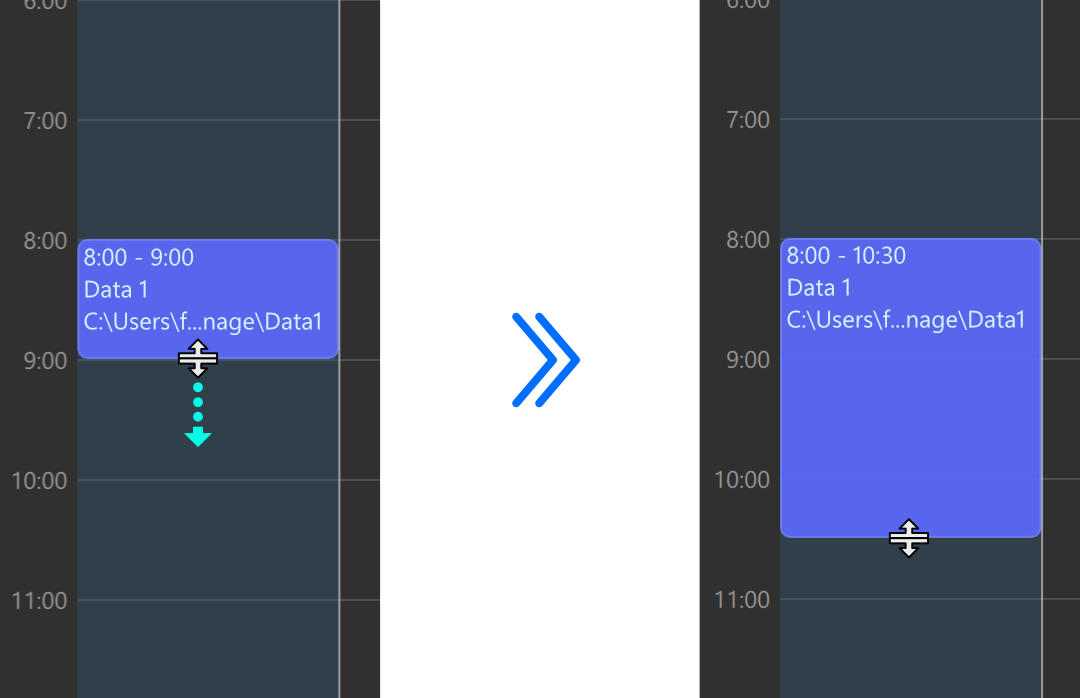
In Figure 7, the pointer is placed on the bottom edge and dragged downward, which results in a later End Time.
- Dragging the Top Edge — Adjusts the Start Time
- Drag upward → Start Time becomes earlier
- Drag downward → Start Time becomes later
- Dragging the Bottom Edge — Adjusts the End Time
- Drag upward → End Time becomes earlier
- Drag downward → End Time becomes later
Cannot Adjust Multiple Schedules at Once
Unlike moving, dragging the top or bottom edge cannot modify multiple schedules simultaneously.
Undo
Choose Edit » Undo from the menu, or select Undo from the context menu.