Search
You can search for schedules and triggers within the currently displayed view.
To open the search window, choose
[Edit] » [Search...]
from the menu.
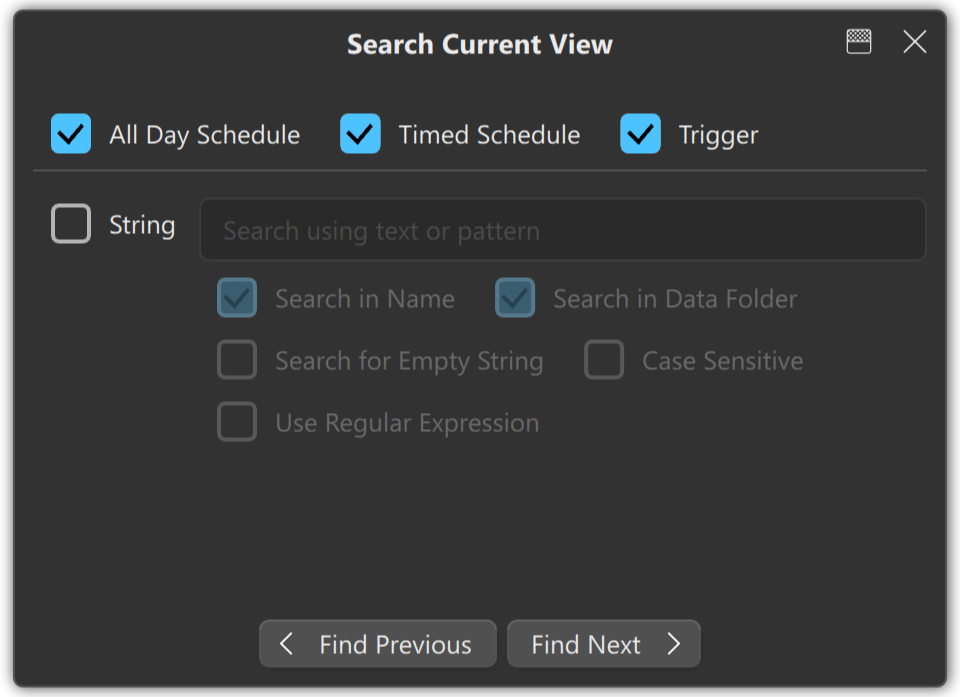
The search window shown in Figure 1 will appear.
You can search forward or backward from the currently selected date or schedule.
To perform a search, click < Search Previous or Search Next >.
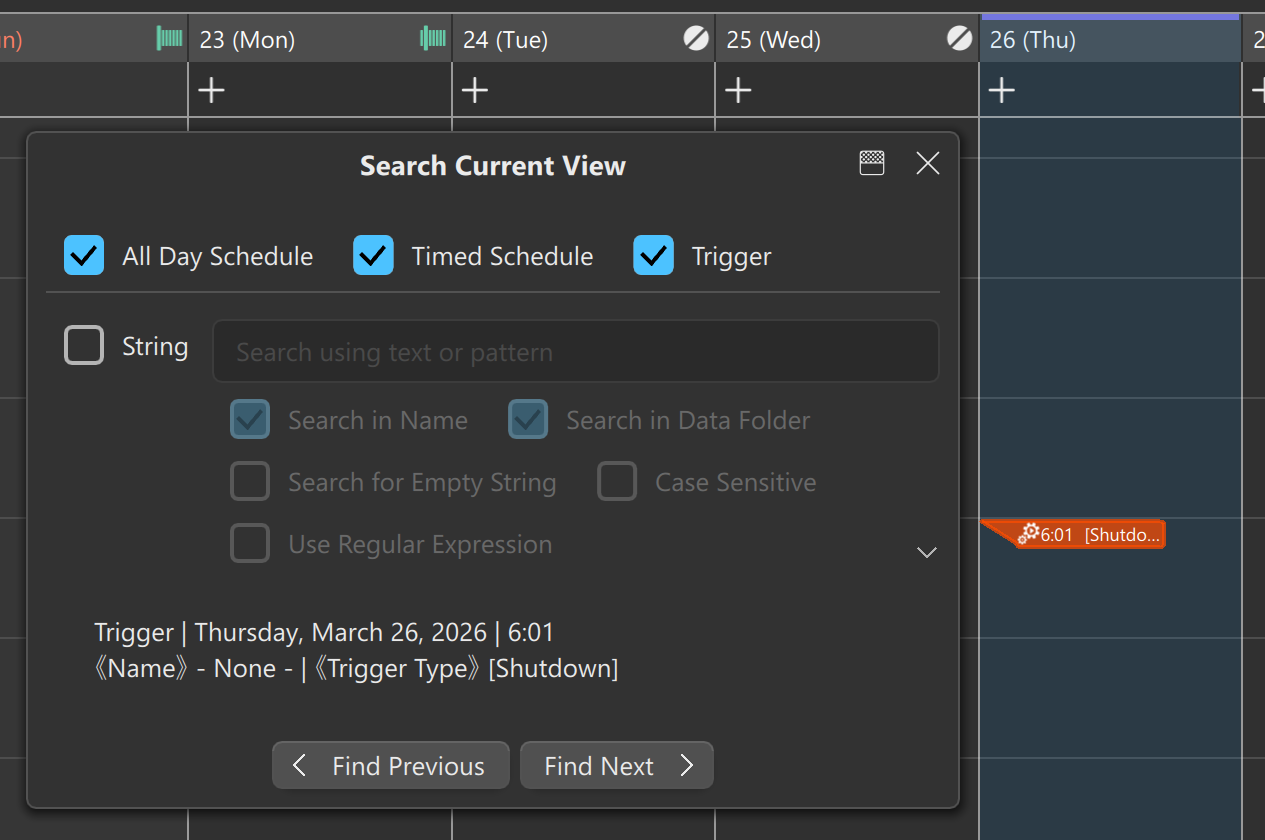
When a schedule or trigger is found, information about the result is displayed above the buttons, the view scrolls automatically, and the corresponding item becomes selected (Figure 2).
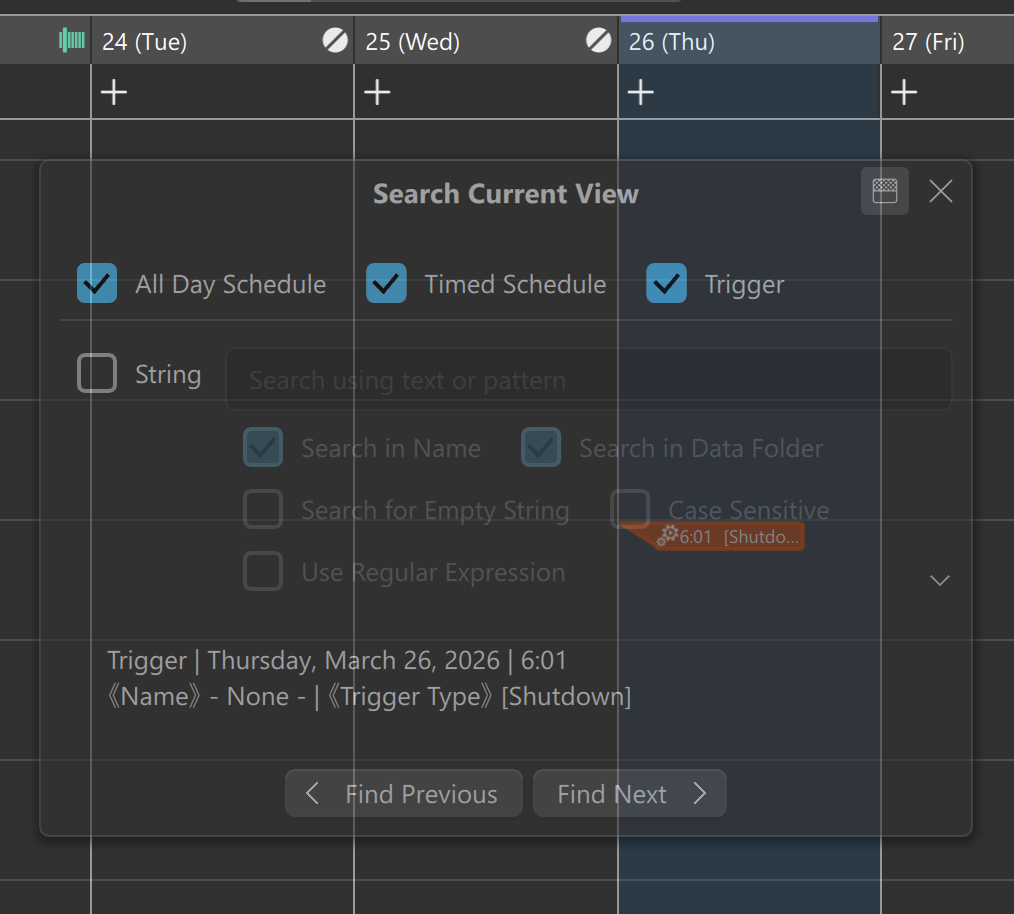
If the search window overlaps the selected schedule and makes it difficult to see, click the
button in the upper‑right corner (upper‑left on macOS).
This makes the window semi‑transparent so you can check the item underneath (Figure 3).
Click the button again to return the window to normal opacity.
Search Options
You can refine your search by specifying conditions.
| Option | Description |
|---|---|
| All Day Schedule | Include All Day Schedules in the search results. |
| Timed Schedule | Include Timed Schedules in the search results. |
| Trigger | Include Triggers in the search results. |
- Text Search
Enable this option to narrow the search using a text string, then enter the text in the input field.
Additional options for text search are available:Option Description Search in Name Search within the Name field. Search in Data Folder Search within the Data Folder path string. Search for Empty String When the input field is empty, the search buttons are disabled.
Check this option to search for items without a name.Case Sensitive By default, searches are case‑insensitive.
Enable this option to distinguish between uppercase and lowercase letters.Use Regular Expression Enable this option to allow regular expressions in the input field.